http://www.julieblanner.com/2013/05/diy-photo-coasters.html
This blog is where I share craft ideas that I have found on the web. It is also the new home for my artwork and digital design creations. I am happy to be back sketching and having a lot of fun with it. All of these will be available for purchase in the near future. I am currently working and perfecting these designs so check back soon for new listings. I am excited for the changes ahead in my Indigi Design Studio! Have a great day! Deanna :)
Friday, May 31, 2013
Photo Coasters
I have been wanting to make some of these and was really happy when I found this tutorial this morning! You can make them with your favorite flower pics, favorite person pics, etc. This easy photo gift idea only takes 30 minutes hands on time, but can be cherished for years. The photo coasters are crafted in 5 simple steps!
Many, many possibilities! For the complete instructions, please go to the following link:
http://www.julieblanner.com/2013/05/diy-photo-coasters.html
http://www.julieblanner.com/2013/05/diy-photo-coasters.html
Sunday, May 26, 2013
Pillow Covers - DIY

1. First you need to cut your fabric. Decide how big your pillow is going to be. For the length you need to cut 2 times the size of the pillow plus 5 inch. For the width you need the size of the pillow plus 1 inch. For example: if you want your final product to be a 15 inch square pillow you need to cut a rectangle of 35 inch (15 + 15 + 5) by 16 inch (15 + 1).
2. Fold over half an inch at the short sides of your rectangle, at the back of the fabric and fold again. Pin this down.
3. Sew the seams close. If you put your needles perpendicular to the way you are sewing you can sew over the needles. I’m not saying you will never break a needle, but it almost never happens to me and it makes sewing so much faster and easier!
4. Lay down your fabric face up and fold over the sides to the middle of the fabric. The piece on top needs to overlap 3 inch of the piece below it. Pin it down and sew the pillow cover shut with 1 inch seam allowance.
5. To stop the fabric from fraying you can do a zigzag stitch on both sides.
6. That’s it! Your easy peasy pillow covers are ready. If you want to you could add some Velcro or buttons as a closure but there really is no need to do that.
For more photo's from this tutorial, please go to the following link:
Friday, May 24, 2013
Cute Bracelet How To
I don't own that many bracelets. Probably because I can hardly stand anything on my arms. I do have bracelet envy every time I see a cute fun bracelet on someones arm. With this said, I can wear bracelets if they are small and can barely be felt on the arm. When I saw this tutorial this morning I was inspired and excited to create my own simple, danity little bracelets. I have all the supplies at my house. Yes, I am a craft junky! I collect beads as well as paper and just about everycrafty thing you can think of.
You will find the link to the full tutorial below. I would love to see what you create!
Enjoy!
Deanna :)
Link to the tutorial: http://www.henryhappened.com/diy-beaded-bracelets.html
You will find the link to the full tutorial below. I would love to see what you create!
Enjoy!
Deanna :)
Link to the tutorial: http://www.henryhappened.com/diy-beaded-bracelets.html
Wednesday, May 22, 2013
Cute Cake Stand Made From a Terracotta Pot and Saucer
I found this very cute idea this morning. It is a very simple project to make. I can imagine it in different, fun colors as well as adding a texture to it.
Enjoy!
Deanna :)
Add a touch of country charm to any table setting with this rustic, easy to make cake stand. Add your own decorator touch to make your own unique pieces.
You will need:
Terracotta pot and saucer
Dulux One Step Primer
White Aquanamel
Paint brush
Sandpaper
Dulux One Step Primer
White Aquanamel
Paint brush
Sandpaper
How to:
1. Sand the pot and base and wipe away the dust.
2. Apply a coat of One Step Primer to each piece. As both are going to be upside down you don't need to worry about painting the inside of the pot or base.
3. Once the One Step is dry, paint both with the Aquanamel. Apply as many coats as you need to get even coverage.
4. Now that your pieces are beautifully painted, turn the pot upside down standing it on it's rim and place the base on top.
For more tips on this project please go to the following link:
http://www.taradennis.com/create/table/cake-stand.html
Tuesday, May 21, 2013
Love the Watermelon!
Here is another cute and fun tutorial from The Happy Scraps Blog Spot. Very fun and cheerful.
Enjoy!
Deanna :)
Here is the link to the full tutorial:
http://www.thehappyscraps.com/2012/05/sweet-bite-of-watermelon.html
Enjoy!
Deanna :)
Here is the link to the full tutorial:
http://www.thehappyscraps.com/2012/05/sweet-bite-of-watermelon.html
Here Comes the Sun!
Summer is almost here! We have survived the winter once again. I am not one to love the cold weather very much. I am a warm weather kind of gal.
I found this cute tutorial this morning and thought it would be fun to share with you. I have been looking for something fun and unique to put on my front door this summer. I love how colorful this is and it is going to be so cute on my front door.
Bring on the sun. Bring on the warm weather. I am ready!
Enjoy!
Deanna :)
For the full tutorial, please go to the following link:
http://www.thehappyscraps.com/2013/05/hello-sunshine-door-hanger.html?utm_source=bp_recent&utm-medium=gadget&utm_campaign=bp_recent
Thursday, May 9, 2013
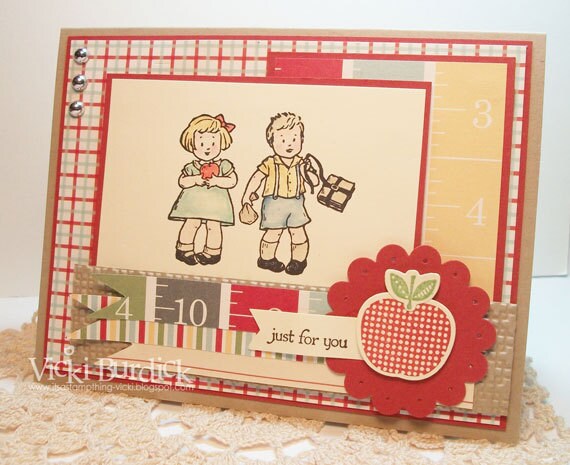
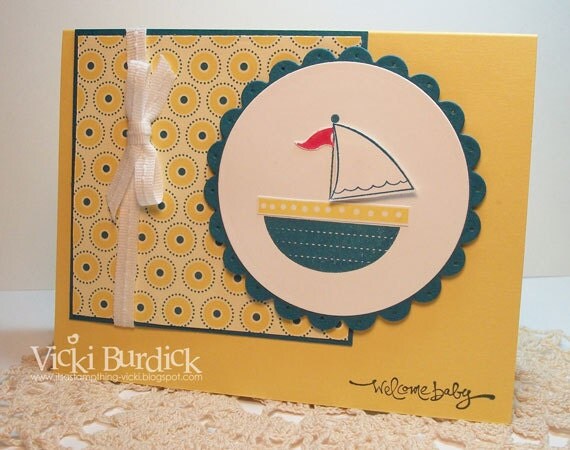
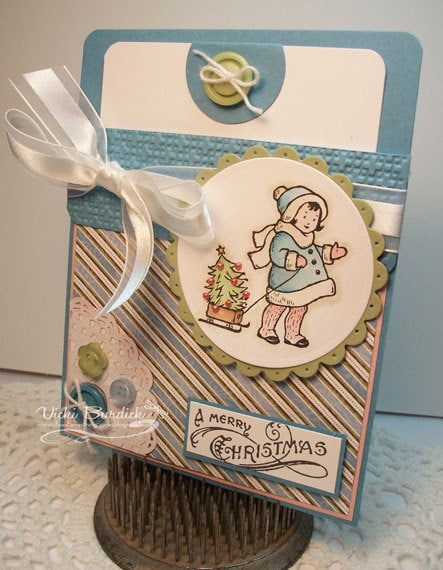
Creative Homemade Cards
Hello!
I was thinking about card making today and was looking at different ideas I have found on the web. I decided to share some of my finds with you. There are some very talented and creative ladies out there making beautiful cards. I hope to be one of the someday!
Enjoy!
Deanna :)


http://pickledpaperdesigns.blogspot.ca/2012/08/case-study-anniversary-blog-hop.html

http://www.itsastampthing-vicki.blogspot.com/2013/04/dynamic-duosbirthday-balloons.html

http://seizethebirthday.blogspot.ca/


https://www.etsy.com/shop/vanillagirl75?ref=seller_info
.jpg)
http://thecricutbug.blogspot.com/2013/03/baby.html
I was thinking about card making today and was looking at different ideas I have found on the web. I decided to share some of my finds with you. There are some very talented and creative ladies out there making beautiful cards. I hope to be one of the someday!
Enjoy!
Deanna :)


http://pickledpaperdesigns.blogspot.ca/2012/08/case-study-anniversary-blog-hop.html

http://www.itsastampthing-vicki.blogspot.com/2013/04/dynamic-duosbirthday-balloons.html

http://seizethebirthday.blogspot.ca/


https://www.etsy.com/shop/vanillagirl75?ref=seller_info
.jpg)
http://thecricutbug.blogspot.com/2013/03/baby.html
Wednesday, May 1, 2013
Freebies from Lettering Delights

Enjoy!
Deanna :)
http://www.letteringdelights.com/searchsite.php?scatid=3
Subscribe to:
Comments (Atom)


